
Preparing the left wing for the landing light cutout.
Dimpled the holes and installed the seal.

Machine countersunk the plexi plus attached the mounting brackets.
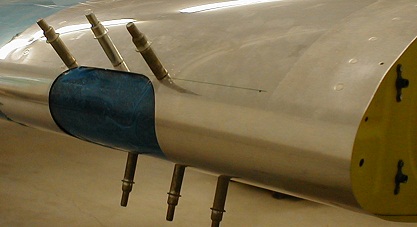
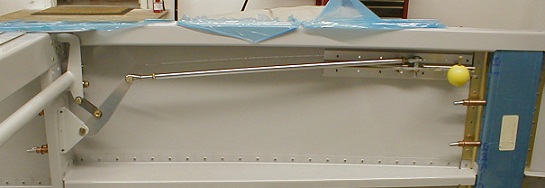
Removed the right fuel tank and installed flop tube and anti hang
up bracket. The inner bracket was installed previously.
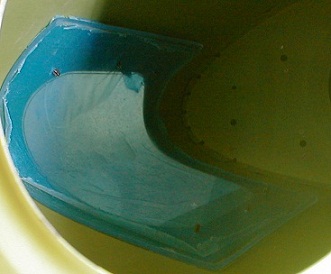
Trimmed the water seal flange down a bit then debured.

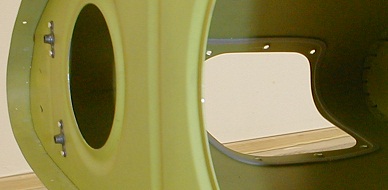
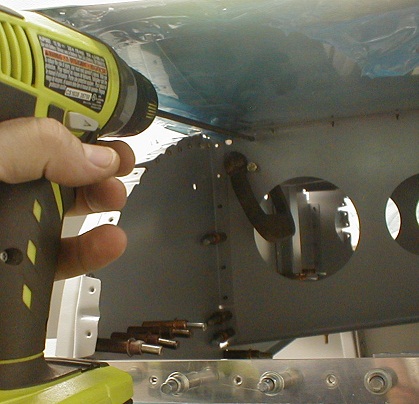
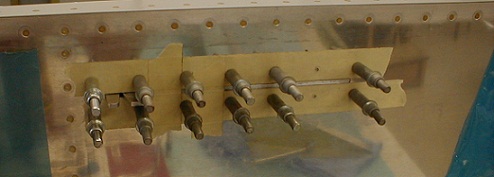
Riveted the sub panel. This is where my 8" long rivet sets come in handy.
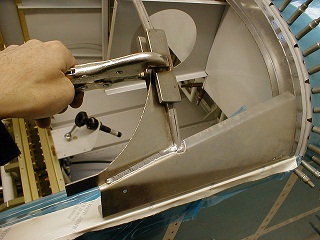
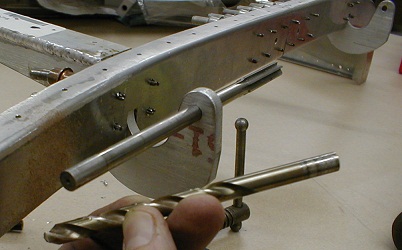
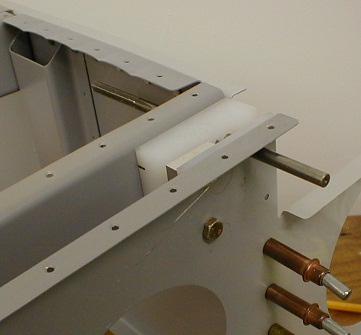
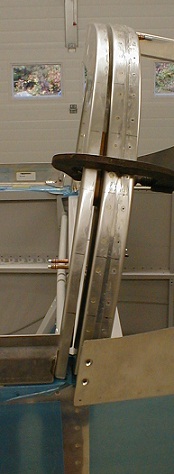
Preparing to drill the tipper hinge hole.
Angle drill and 1/4" drill just to start the hole, then the contraption
gets removed and final reamed with a reamer.
Fine tuning the the canopy frame by lengthening the aft tube a bit like
this.
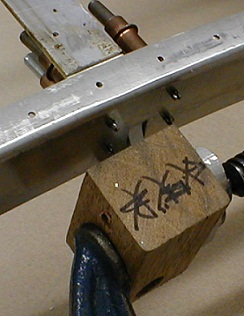
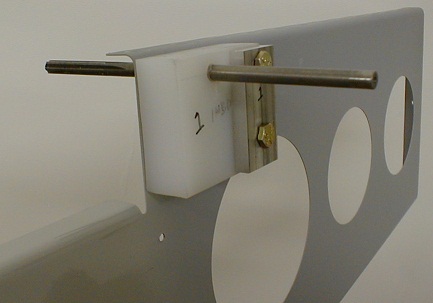
Completing the hole in the tipper hinge, I made a drill guide from wood.
Idea from Mike Bullock.
The drill is the same size as the shaft of the reamer. Then back reamed
the hole.
Confirming no chaffing between the panel and canopy frame when closed.
Drilled the canopy block.
These pics may be out of sequence.
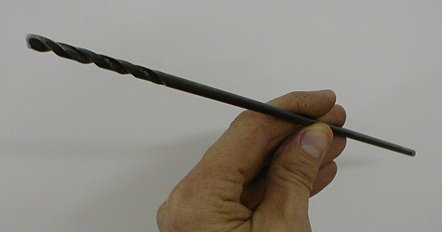
One of my best investments, long drill bits.
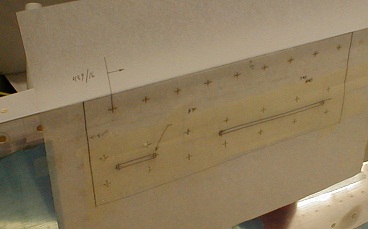
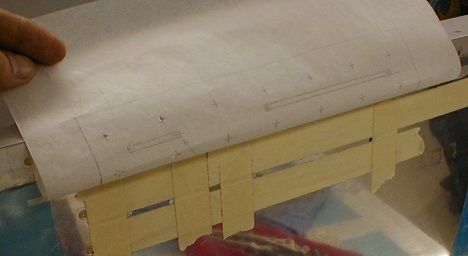
Canopy lock mechanism. Made a template with tracing paper from the plans
and taped the fuse. Marked the cutout with masking tape and drilled the
#30 holes as per plans.
Using the dremel and fine jewelers files the cutout results were very good.
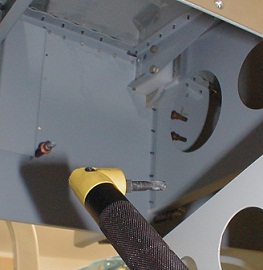
Temp installed the linkage components and ops checked.
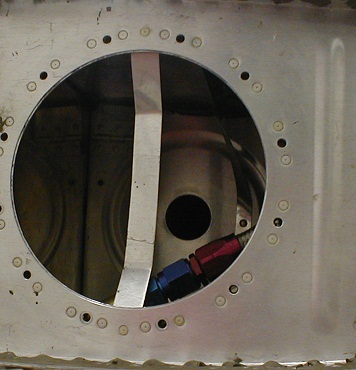
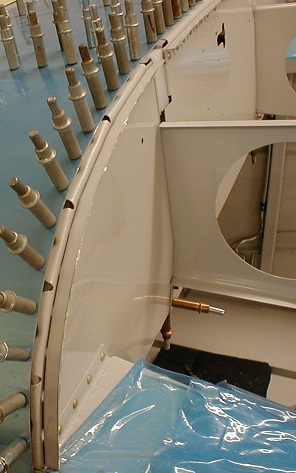
Drilled the small hole in the spar cover and confirmed a good fit for the
spring loaded locking mechanism.
Clamped the aft tipper ribs with the 13/16" wood spacers (plans say 7/8"
wrong) blocks in-between the roll bar, to accommodated the 1/4 spacing
required.
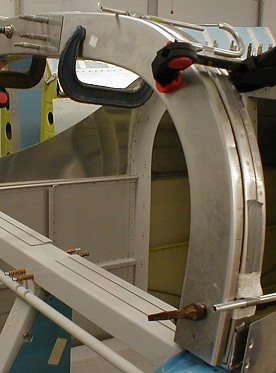
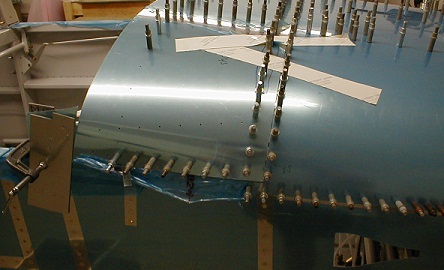
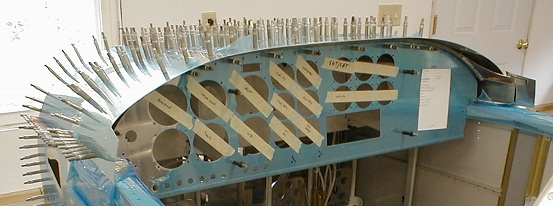
Everything clamped in prep for canopy frame rigging. The tubes are taped
the roll bar and aids in aligning the tipper ribs. And notice the rib template
clecko'd to only one of the ribs. That will get drilled later.
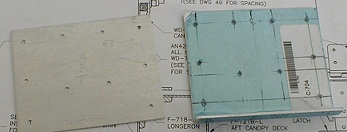
Template on left.
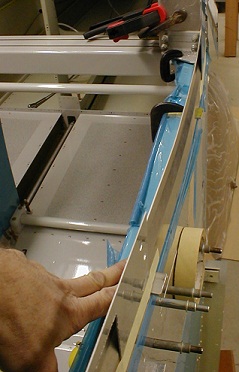
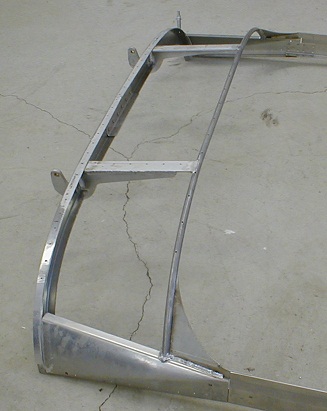
What I'm doing here is rigging or tweaking the canopy frame sides to match
the fuse. The above pic shows the 1/8" spaces taped the the longerons some
.032 scrap taped to the sides of the frame to simulate the skirt. I marked
the areas on the frame lower flange where it needed more bending or "shrinking"
and borrowed the metal stretcher from work and fine tuned it. A little goes
a long way. I think I had to stretch it some here and there also with th
stretcher.
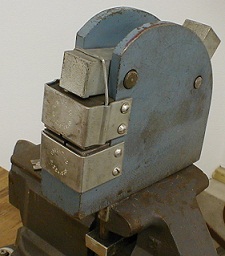
Shrinker. The stretcher looks the same.
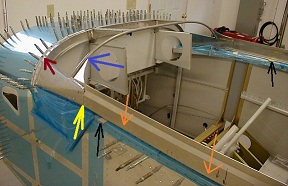
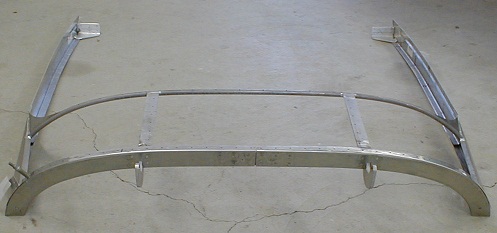
This is the canopy frame pretty much done.
Black arrow is the 1/8" spacers. Blue is the rear canopy frame tube which
I had to expand some with fluting pliers. Red is where I may add some
shims under the canopy skin for a flush appearance. Yellow shows where the
frame joint brackets were riveted. There will be more finessing of this
frame when I start the canopy fitting and trimming.
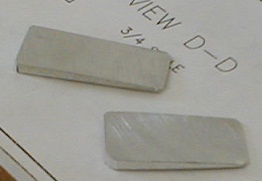
Fabricated these shims that get riveted to the bottom of the joint brackets.
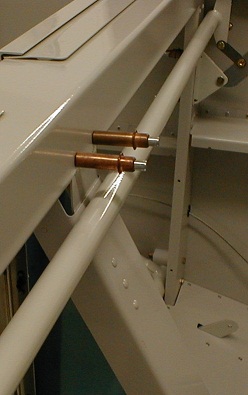
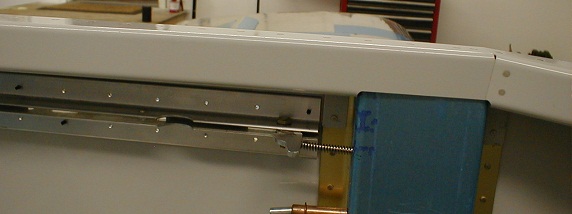
Had some rubbing above on the flap motor bracket and canopy frame lock
tube. A slight bend where it rubbed cured the problem.
Back
| Next | Home